
It's the Simple Things
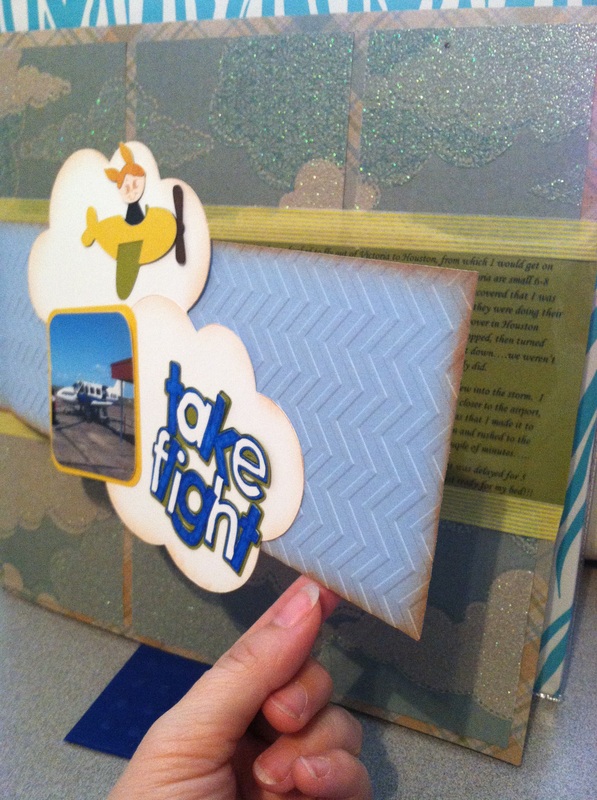
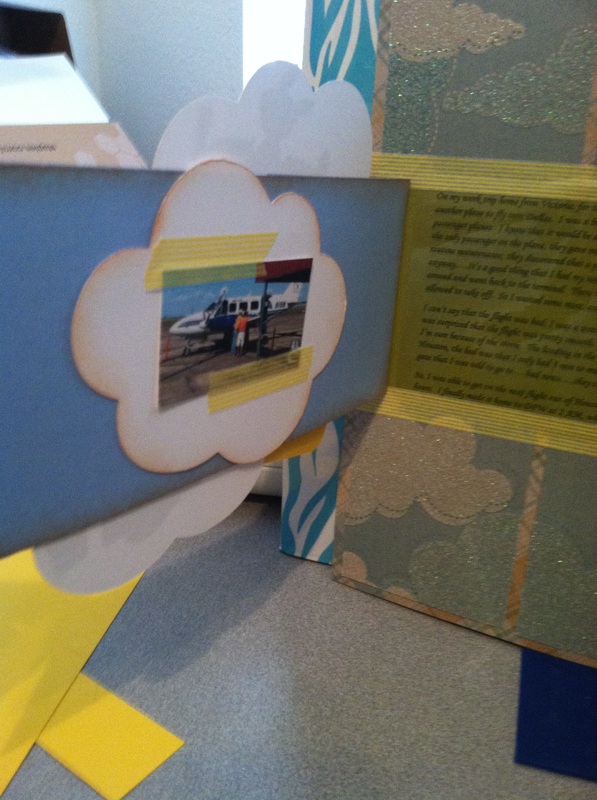
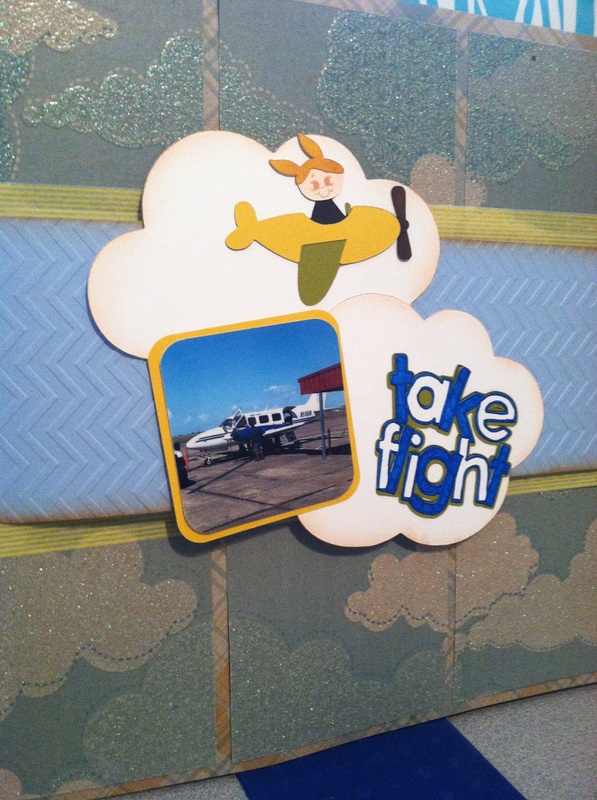
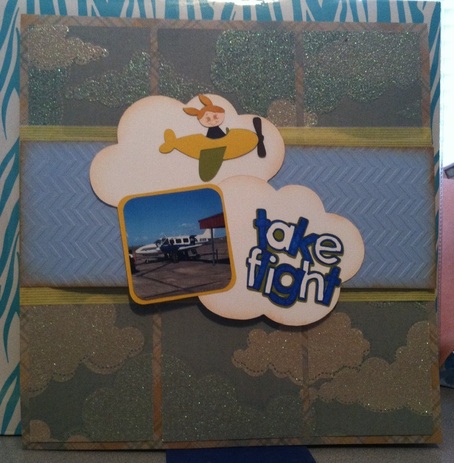 What do you do when you have a great story to tell, one that you want to preserve in a scrapbook, but don't really have any pictures to go along with it? I choose to create a scrapbook layout that will focus on the story, and use decorative items to create a beautiful page. That is what happened with this page. It is about my journey from Victoria to Houston to Dallas, which was quite a trip. Let's just say it involves a 8 passenger plane, a storm over Houston, and a lot of waiting around in airports. I only had two small pictures, and they weren't very good pictures at that. So, I did a lot of journaling, which you can't see in this picture, but you can see where I hid it below in the next set of images.
Materials Used: Cricut: Beep Beep, Craft Room Basics, & Simply Charmed Paper: DCWV - The Playtime Stack Ink: Tim Holtz Tea Die Distress Ink Stamp: Peachy Keen Face Stamps Cuttlebug: Darice Chevron Embossing Folder Other: Spectrum Noir - EB5, TB6, & FS6; Blue gelly roll pen, Recollections yellow strip washi tape, & transparent sheet with journaling on computer. Challenges Entered: Die Cuttin Divas Paper Playtime Frosted Designs Scrappy Mom Stamps My Craft Spot Cuttlebug Mania  Blog Update: December 11, 2013
My Take Flight Layout was showcased on the Die Cuttin' Divas challenge site. This was a sketch challenge, that I don't normally participate in, but this one really inspired me :)
10 Comments
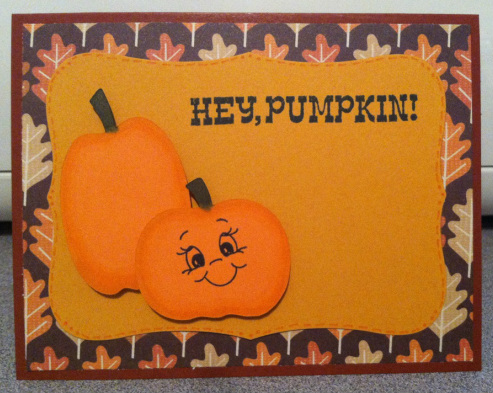 It's challenge time over at Fantabulous Cricut. This week's challenge is Signs of Fall. Using at least one Cricut cut, create a project with a Fall theme (pumpkins, leaves, harvest, etc.) I had so much fun making this super cute card. I had bought a couple of new products that I wanted to use, and had a great time testing them out. I cut out the 3 pumpkins, using Create A Critter. I stretched one to make it taller and not as wide. You can't see the 3rd pumpkin, I put it on the inside of the card in the bottom right corner. I bought the 12 sets of the Spectrum Noir alcohol ink markers. I know that they are to color in digi and stamped images, but I wondered if I could use them to add some edges to my Cricut cuts, like I usually would do with chalk. I used DG3 to color the pumpkin stems, and used GB5 and OR1, and the Blender pen to edge the pumpkins. I love out it turned out and using the blender pen on the very inside really helped the natural color of the cardstock blend with the marker color.
I had also bought the Labels Eight dies by Spellbinders because they were 40% off (I love a good deal). I used them to cut out the scallop base for the pumpkins. I edged it using a orange gelly roll pen. One more new product that I am so in love with is the Peachy Keen face stamp set. OMG....They are so cute and I love that you can put a little face on anything. I think it really makes this card super cute. Don't forget to link up your "Signs of Fall " Project over at the Fantabulous Cricut Challenge Blog!!! Materials Used: Cricut: Create A Critter Stamps: "Hey Pumpkin" by Recollections, "Smiley Face" by Peachy Keen Stamps Ink: Memento Tuxedo Black Ink Paper: The Paper Studio - All Seasons II and Recollections Cardstock Spectrum Noir: DG3, GB5, OR1, and Blender Pen Cuttlebug: Spellbinders - Labels Eight Other: Orange Gelly Roll pen, foam tape Challenges: Bitten by the Bug 2 Mark's Finest Papers Cut it Up Scrappy Moms Stamps Craftin Desert Divas |
 

JoNeita & Dallas - Dec. 2021
About MeMy name is JoNeita Kelly and I have been crafting for at least the last 20 years. I live in Forney, Texas with my son, Dallas. I am a High School teacher and Cheerleading Coach. I love to craft and to continue to improve my photography and editing skills whenever I have free time. What I love most is telling our story using pictures, it is the most important gift I can leave my family. 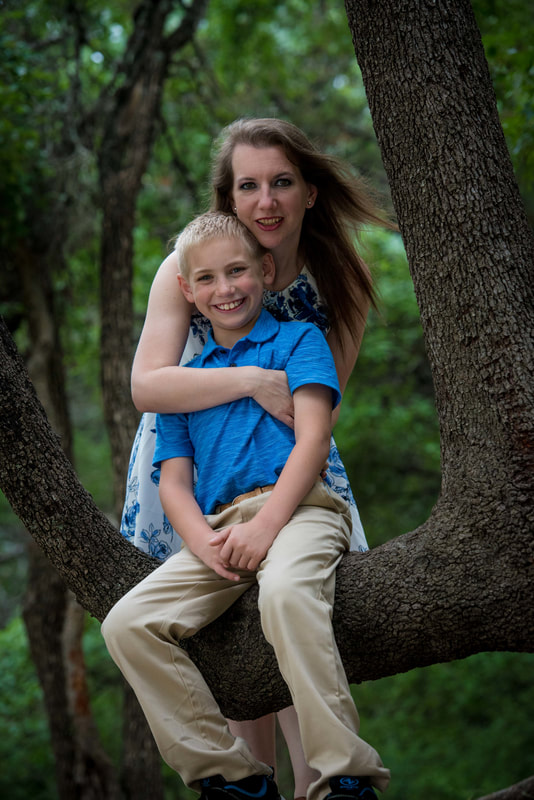
Photo by Steven Mackie Photography.
Categories
All
Archives
December 2021


Former Design Team Member for Fantabulous Cricut Challenge Blog
 |


 RSS Feed
